Best WiFi Router Placement Tips — Get Full Signal in Every Room (2026)
In this post, I'm going to show you the best WiFi router placement tips to get full signal in every room — without buying a new router, a mesh system, or a single piece of new hardware.
Here's the truth: most people get half the performance from their router purely because of where they put it. They stick it in the corner the ISP engineer pointed at, or hide it behind a cabinet because the cables are tidier that way, and then complain about dead zones. The router itself is fine. The placement is the problem.
These tips will fix that. Let's dive right in.
What's inside:

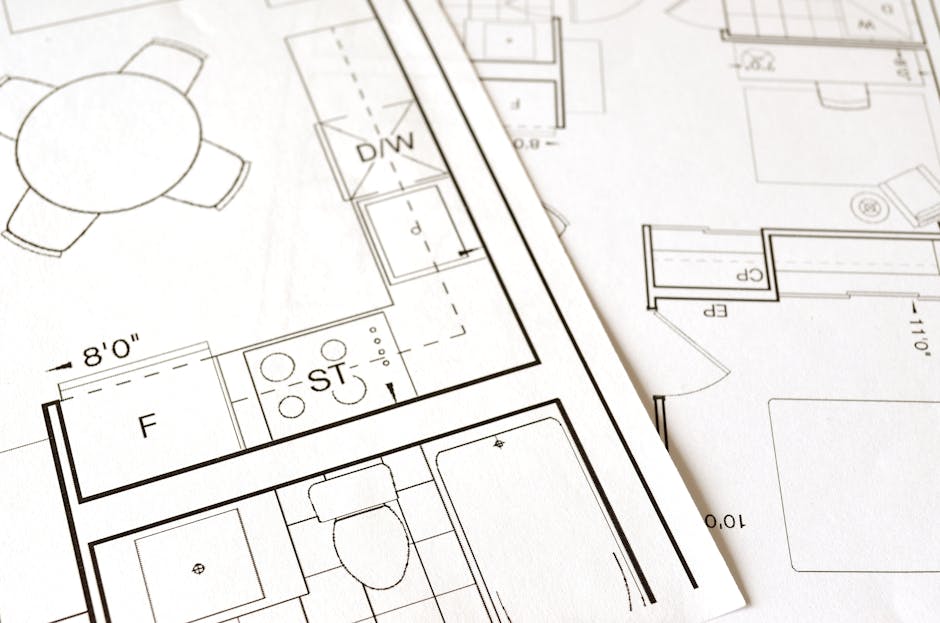
Photo by Pixabay on Pexels.
Tip 1: Put It in the Center of Your Home
This is the single biggest improvement most people can make. A WiFi router broadcasts signal in all directions roughly equally — so if it is sitting in the far corner of your home, half that signal is going into your neighbor's property. Move it toward the center and you immediately extend usable coverage in every direction.
In a single-floor home, central placement is the obvious goal. In a multi-floor home, the middle floor is ideal — signal travels both up and down. Ground floor placement in a two-story home means the upstairs bedrooms are fighting through two floors of concrete and plasterboard.
Practical fix: Run a longer ethernet cable from your ISP connection point to a more central location. A 5-meter ethernet cable costs very little and can transform your coverage.
Tip 2: Raise It Off the Floor
WiFi signal travels outward and slightly downward from the router. A router sitting on the floor is broadcasting most of its signal into carpet and concrete. Place it on a shelf, desk, or mount it on a wall at roughly chest height. The signal will reach further and more evenly throughout the room and adjacent rooms.
This is especially important in multi-floor homes. A router on the first floor at head height will cover the floor above it far better than the same router sitting on the ground.
Tip 3: Minimize Walls and Obstacles Between Router and Devices
Every obstacle your WiFi signal passes through weakens it. Here is a rough guide to what costs you the most signal:
- Concrete and brick walls — very high signal loss. One thick exterior wall can cut signal by 50% or more
- Plasterboard / drywall — moderate loss. Standard interior walls cut signal noticeably but manageably
- Floors and ceilings — significant loss, especially reinforced concrete
- Metal objects — strong signal reflectors and absorbers. Filing cabinets, metal shelves, and appliances near the router cause serious interference
- Mirrors and fish tanks — water and reflective surfaces absorb and scatter WiFi signal significantly
- Microwave ovens — when running, microwaves emit radiation on the 2.4GHz band and directly interfere with WiFi
Practical fix: Count the number of walls between your router and your most-used devices. Reposition either the router or your primary workspace to reduce the wall count by even one — the difference is often dramatic.
Tip 4: Move It Away From Interference Sources
These common household items actively interfere with your WiFi signal and should be kept as far from your router as possible:
- Microwave ovens (2.4GHz interference when running)
- Cordless phones (older models use 2.4GHz)
- Baby monitors
- Bluetooth speakers and devices (minor interference on 2.4GHz)
- Neighboring WiFi networks on the same channel
Keep your router at least 1 meter from other electronics where possible. Do not store it inside a cupboard or entertainment unit — the enclosed space traps heat and surrounds the router with signal-absorbing materials on all sides.
Tip 5: Position the Antennas Correctly
If your router has external antennas, their orientation matters. WiFi antennas broadcast signal perpendicular to the direction they point — so a vertical antenna broadcasts horizontally, and a horizontal antenna broadcasts vertically.
- Single floor home: Keep all antennas vertical (pointing straight up). This maximises horizontal coverage across your floor
- Multi-floor home: Point one antenna vertical and one at a 45-degree angle (or fully horizontal). This creates better coverage both horizontally and vertically between floors
Routers with internal antennas (flat disc or cylindrical designs) are engineered for a specific orientation — usually flat on a surface. Do not stand these on their side unless the manufacturer specifies it is safe to do so.
Tip 6: Change the WiFi Channel
Your WiFi broadcasts on a specific channel within its frequency band. In dense urban areas, many neighboring routers often broadcast on the same channel by default — creating congestion that slows everyone down. This is invisible in most homes but can cost you significant speed.
For 2.4GHz, use channels 1, 6, or 11 — the only three that do not overlap. Your router is probably on channel 6 by default because everyone else's is too. Try channel 1 or 11.
For 5GHz, channel overlap is less of a problem due to the wider frequency range, but if you have neighbors with the same ISP equipment, you may still see congestion. Try channels 36, 40, 44, or 48.
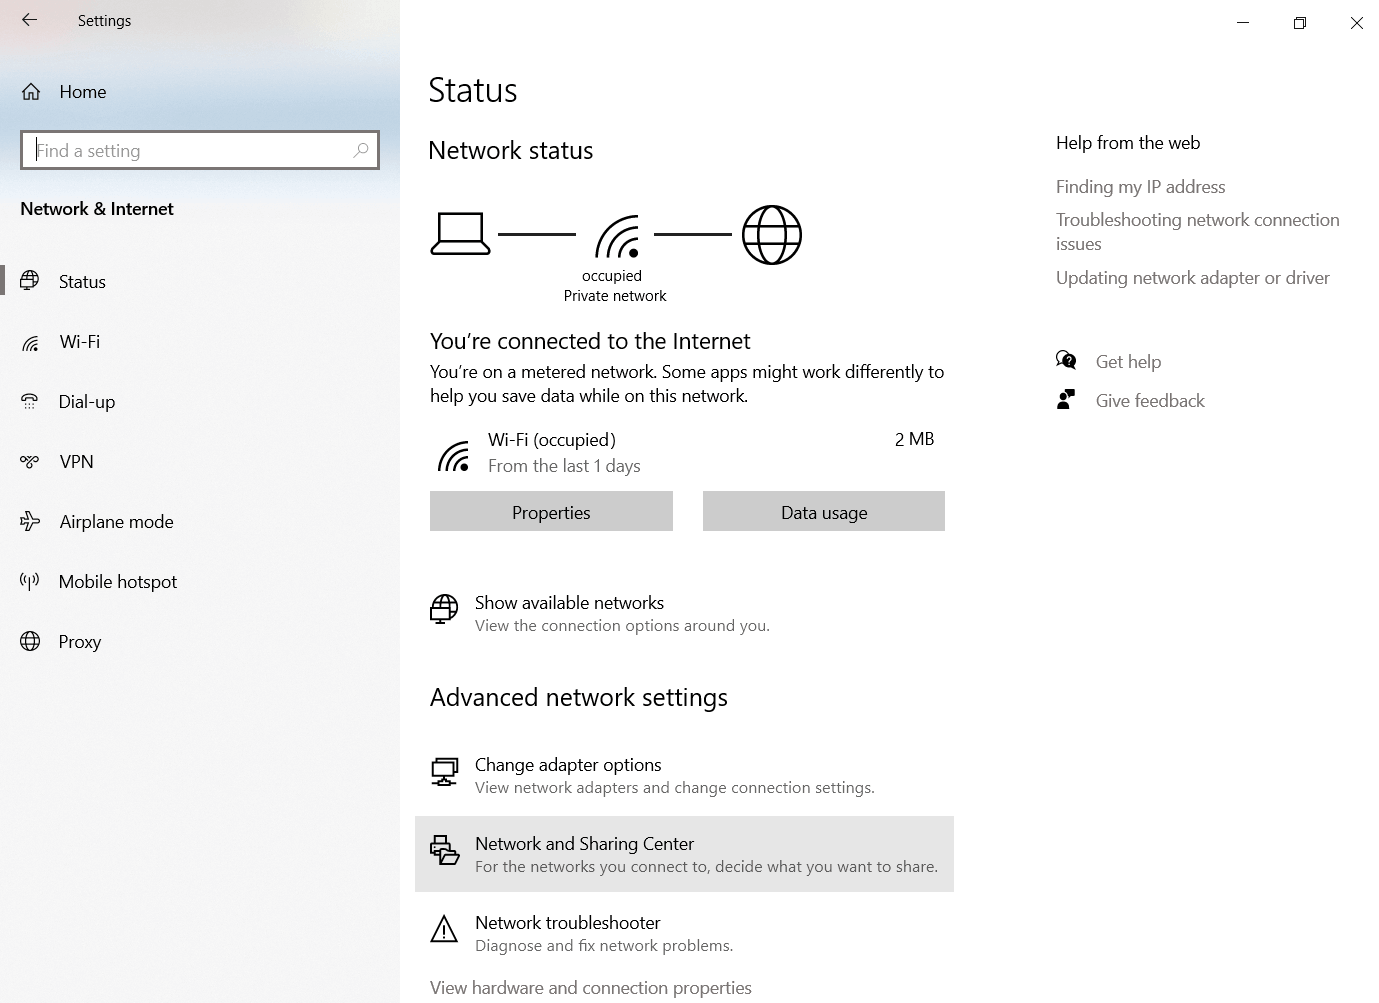
How to change it: Log into your router admin panel at 192.168.1.1 → Wireless Settings → Channel → change from Auto to a specific channel number → Save.
Tip 7: Use the Right Frequency Band
Modern routers broadcast on two frequency bands simultaneously:
- 2.4GHz — longer range, better wall penetration, slower maximum speed. Best for: devices far from the router, IoT devices, smart home gadgets
- 5GHz — shorter range, poor wall penetration, much faster maximum speed. Best for: streaming, gaming, video calls on devices close to the router
Many routers broadcast both under the same name and let your device choose automatically. If you have a dead zone issue in a far room, make sure the devices there are connecting to 2.4GHz, not 5GHz. The 5GHz band may appear stronger on the signal meter but actually deliver worse real-world speeds through walls at distance.
Tip 8: Reboot Your Router Regularly
Routers are small computers and they accumulate memory leaks, stale connections, and performance degradation over time. A monthly reboot clears all of this and typically restores the speed and reliability of a fresh connection.
Do not just switch it off and on — unplug the power cable, wait 30 seconds (this fully clears the memory), then plug back in. Wait 2 minutes for the router to fully reconnect to your ISP before testing speed.
If your router has a reboot scheduler in its settings (some TP-Link and Asus models do), set it to reboot automatically at 3am once a week. You will never notice and your network will thank you.
FAQ: WiFi Router Placement
Where is the best place to put a WiFi router in a house?
The geometric center of your home, elevated to roughly chest height, with as few walls as possible between it and the rooms you use most. In a two-story home, mid-height on the first floor is ideal. Keep it away from microwaves, metal objects, and enclosed cupboards. If your ISP connection point forces you to put the router in an inconvenient location, a longer ethernet cable between the wall socket and a better-positioned router is almost always the right solution.
Does it matter if my router is vertical or horizontal?
Yes for routers with external antennas — antenna orientation affects signal direction significantly. No for routers with internal antennas — these are designed for a specific position (usually flat, horizontal) and should not be placed on their side unless the manual specifies it is safe.
How far can a WiFi router reach?
In open air with no obstacles, a modern 802.11ac (WiFi 5) or 802.11ax (WiFi 6) router can reach 100-150 meters. In a typical home with walls and interference, realistic coverage is 20-50 meters on 5GHz and 30-70 meters on 2.4GHz. Heavy concrete walls, multiple floors, and dense interference sources can reduce this significantly. If your home exceeds these ranges, a mesh WiFi system or a wired access point in the dead zone is the right solution rather than router repositioning.
Should I hide my router in a cupboard?
Never. Enclosed spaces kill WiFi coverage in three ways: the walls of the cupboard absorb signal, the enclosed space traps heat which degrades performance and hardware longevity, and you cannot physically reach it easily for reboots. A router on an open shelf broadcasts significantly better than the same router inside a cabinet. If aesthetics are the concern, a shelf behind a TV unit or on top of a bookcase is far better than inside a closed cabinet.
What if I still have dead zones after repositioning?
If repositioning does not solve the coverage problem, the next step is a mesh WiFi system (like Google Nest WiFi, Eero, or TP-Link Deco) which uses multiple units that talk to each other. For the most reliable solution in a large home, run ethernet cable to a secondary access point in the dead zone — this gives full speed everywhere without any wireless backhaul compromise.
Related: How to Change Your WiFi Password · WiFi Password Strength Checker · WiFi Missing Fix Guide · Free WiFi QR Code Generator